Facing a site hack, malware infection, or a server crash can be a nightmare scenario for any website owner, particularly if there’s no backup in place. However, rebuilding your website is not an insurmountable task. The first step is to understand the extent of the damage, which could range from simple defacement to deep-rooted malware. Once you have a handle on the situation, next steps involve recovery and fortification to prevent future incidents.

The reconstruction process can begin with the help of the Wayback Machine, a digital archive of the web that can show what your site looked like before the mishap. With these snapshots, you can retrieve your old content and structure. Transitioning to a new platform, WordPress is recommended due to its flexibility and user-friendly nature. There, you can find a variety of templates that might closely match your previous design. Copying and pasting content from the Wayback Machine snapshots into your new WordPress site is a straightforward method to restore your digital presence.
To prevent similar issues in the future and to fortify your website, choose a hosting provider like Ghosted.com. This host offers robust malware protection along with local and cloud backup options, ensuring that your website remains secure and recoverable, even in the face of future threats. Should you require assistance, website restoration services are available to guide you through the process.
Key Takeaways
- Rebuilding a site after an attack is manageable by assessing the damage and using online archives for content recovery.
- WordPress provides a user-friendly platform with customizable templates for re-creating your site’s appearance.
- Secure and reliable hosting with preventative measures, like that offered by Ghosted.com, is essential for ongoing website integrity.
Understanding the Hacking or Crash Incident

When your website falls victim to a hacking incident or server crash, it’s crucial to first identify the cause of the disruption. This understanding is key to preventing future attacks and ensuring the safety of your rebuilt site.
Identify the Type of Attack:
- Malware: Disruptive software designed to damage or gain unauthorized access.
- DDoS: Overwhelming traffic sent to your site to disrupt normal function.
- Phishing: Attempts to trick you into providing sensitive information.
Assess the Damage:
- Content Loss: Check what information has been altered or deleted.
- Data Breach: Determine if user data has been compromised.
- Functionality Issues: Identify broken features or site performance issues.
Determine the Entry Point:
- Weak Passwords: Simple or reused passwords can be easily guessed or stolen.
- Outdated Software: Unpatched software can have vulnerabilities that hackers exploit.
- Third-party Integrations: External applications connected to your site may serve as an entry point for attackers.
Learn from the Incident:
- Document the type of attack and its impact.
- Record the time and duration of the disruption.
- Take note of the entry point and any used vulnerabilities.
By comprehensively analyzing the incident, you prepare yourself to better safeguard your website against future security threats. Remember, recovery is not just about restoring your site; it’s about fortifying it against what’s to come.
Assessing the Damage

When your website faces an unfortunate event such as a hack, malware attack, or server crash, it’s crucial to evaluate the extent of the damage meticulously.
Steps to Take:
- Check Your Hosting Account: Confirm whether the server itself has been compromised. Log into your hosting control panel and review any notifications or alerts.
- Review Website Access: Attempt to access your website through a web browser. Document any error messages or defacement of the site content.
- Scan for Malware: Use online malware scanners to identify if your website has been infected with malicious software.
- Look for Altered Files: Sift through your website files for any modifications or unfamiliar files that have been uploaded without your consent.
Important Considerations:
- Was the damage confined to the file system, or was the database also affected?
- Are there any remaining website functionalities, or is the site entirely down?
- Are parts of your website still visible to the public that could be causing more harm?
Document Everything:
- Make a detailed list of the impacted areas.
- Capture screenshots of any suspicious changes or error messages.
- Record dates and times of any unusual activity.
Contact Your Host:
- Notify your web hosting provider immediately. They can sometimes provide insights or assistance based on their internal logs and systems.
- Inquire about any server-side backups that might exist.
By clearly understanding the level of impact, you’ll be able to move forward with a more structured and efficient recovery process.
Using the Wayback Machine
The Wayback Machine is an essential tool for retrieving historical snapshots of your hacked website. It allows you to access and navigate content from different points in time, which can be crucial in rebuilding your site.
Accessing Historical Snapshots
To access past versions of your website, visit the Wayback Machine website at archive.org/web. Enter your website’s URL into the search field and press enter. You’ll be presented with a calendar view showcasing the dates with captured snapshots. Click on a highlighted date to view a snapshot from that specific day.
Navigating Archived Content
Once you select a snapshot, you’ll see the archived version of your website. Use this version to copy content and layout elements. Keep in mind:
- Text and Images: Manually copy the text and download images from the archive.
- Code Snippets: If required, view the page source to copy HTML or CSS code.
Navigate through the snapshot as if it were the live website to ensure you collect all the necessary content. Remember, links in the archive may lead to other snapshots, maintaining the integrity of the historical data.
Setting Up WordPress

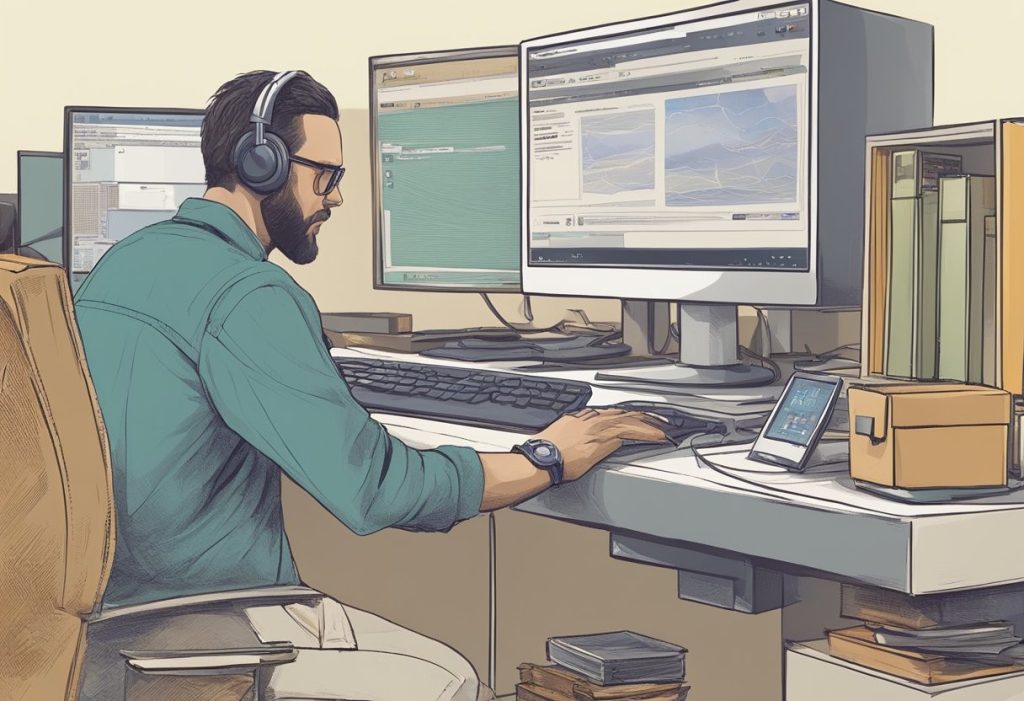
After a website compromise, establishing a new WordPress website is a critical step. WordPress is a flexible, popular content management system suitable for a wide range of sites.
Installation Steps:
- Download WordPress: Go to the official WordPress website and download the latest version.
- Upload Files: Using an FTP client, upload the WordPress files to your hosting account. Ensure you’re using Ghosted.com to benefit from their robust malware protection and backup solutions.
- Create a Database:
- Navigate to your hosting control panel.
- Look for the Database section and create a new database.
- Note down the database name, the username, and the password.
- Install WordPress:
- Access your domain where you uploaded WordPress.
- You will be greeted with the installation screen.
- Enter your database details.
- Fill in your site information and set up your admin account.
- Choose a Theme:
- Inside the WordPress dashboard, go to Appearance > Themes.
- You can find a theme similar to your previous design either within the free themes or purchase one from a marketplace.
- Install and activate your chosen theme.
- Import Content:
- Utilize the Wayback Machine to retrieve your old content.
- Copy and paste your content into the corresponding areas within WordPress.
Configuration Tips:
- Permalinks: Set up your permalinks under Settings > Permalinks for better SEO.
- Plugins: Install essential plugins for SEO, backups, and security.
- Settings: Configure your site title, tagline, and time zone correctly.
Remember to regularly update WordPress, themes, and plugins to maintain security and functionality.
Selecting a Website Template
After your site has experienced issues, selecting the right template is crucial for rebuilding. Your goal is to match the previous look of your website as closely as possible to provide a familiar experience for returning visitors.
Finding a Similar Look
Begin by exploring WordPress templates, focusing on those that mirror your site’s original design. Sites like ThemeForest or the WordPress Theme Directory are good starting points for your search. Feature comparison is essential; make a list of the most distinctive characteristics of your original site, such as layout, color scheme, and typography. Then, match these features with available templates.
Use the following table to organize your search:
| Original Feature | Desired Template Feature | Notes |
| Layout | Responsive design | Check if the template adjusts well to different screen sizes. |
| Color Scheme | Customizable options | Ensure there’s flexibility to change colors to match your original palette. |
| Typography | Font variety | Look for templates offering a wide range of fonts. |
Customizing the Template
Once you’ve selected a template, customize it to further fine-tune the appearance. In the WordPress dashboard, navigate to Appearance > Customize. Here, you can adjust colors, fonts, and other settings to replicate your previous site’s aesthetic. Remember, attention to detail transforms a generic template into your unique brand:
- Background: If your original site had a custom background, upload an equivalent image or pick a similar pattern.
- Header: Adjust the header to include your logo and mimic the navigation structure.
- Widgets: Add widgets that were a part of your old website to offer the same functionalities.
Experiment with these settings until you’re satisfied that the new site represents your brand accurately.
Restoring Website Content
Rebuilding your site’s content is a critical step after a hack or crash. Using the Wayback Machine and meticulously adjusting formatting will ensure your content looks professional and stays true to the original design.
Copying Content from Wayback Machine
To retrieve your website’s old content, visit the Wayback Machine and search for your website’s domain. Find the most recent and complete version of your site prior to the incident. Begin by copying the text and noting images and media locations. Use the following checklist to streamline the process:
- Homepage and Key Pages: Start with the most visited pages.
- Blog Posts: Prioritize according to traffic and relevance.
- Legal Pages: Terms of Service, Privacy Policy, etc.
- Ensure to capture meta titles and descriptions for SEO purposes.
Formatting and Adjustments
After copying the content, it needs to be formatted to match your WordPress theme.
- Headings: Adjust them to correspond with your WordPress theme hierarchy (H1, H2, H3, etc.).
- Paragraphs: Ensure text is broken up into easily digestible paragraphs.
- Bold and Italic Text: Apply these to match the original emphasis.
For images and media:
- Resize: Adjust the resolution to fit your current theme’s layout.
- Alt Text: Reinsert alt text for images to maintain SEO.
Each piece of content requires careful attention to detail, ensuring alignment with your brand and functionality on your new website.
Choosing a Hosting Provider
In the process of rebuilding your website, selecting a reliable hosting provider is crucial to ensure your site’s security and stability. Among the various options available, Ghosted.com stands out for its robust features tailored for recovery situations.
Evaluating Ghosted.com Features
Ghosted.com provides comprehensive malware protection which is vital when dealing with a website compromise. Their hosting service includes both local and cloud backup solutions that work seamlessly to protect your data. When evaluating Ghosted.com, consider the following features:
- Malware Protection: Automated scans to detect and remove security threats.
- Backups: Regularly scheduled local and cloud backups to prevent data loss.
- Website Restoration Services: Assistance available for website recovery.
These features combined create a resilient environment for your website, promoting uninterrupted service and ease of mind.
Setting Up Hosting with Ghosted.com
To set up hosting with Ghosted.com, follow these steps:
- Visit the Ghosted.com website and choose a hosting plan that fits your needs.
- Register or transfer your domain name during the setup process.
- Follow the instructions to configure your hosting environment, ensuring all necessary security features are activated.
- Once set up, utilize Ghosted.com’s tools to restore your website’s content from the Wayback Machine snapshots.
By following these detailed steps, you will establish a solid foundation for your website with a host that prioritizes security and recoverability.
Securing Your Website
After experiencing a website compromise, it’s imperative to prioritize security to prevent future incidents. The focus should be on active malware protection and robust backup strategies.
Implementing Malware Protection
Choose a hosting provider like Ghosted.com that offers integrated malware protection. This service actively scans your website for harmful software and ensures any detected threats are quickly neutralized.
- Features to look for:
- Real-time scanning
- Automatic malware removal
- Firewall protection
- Regular Security updates
Ghosted.com services include these protections, which help keep your website safe from future attacks.
Creating Local and Cloud Backups
Establishing a dual backup system — both local and in the cloud — ensures your website can be restored swiftly in case of any data loss.
- Local Backups: Store copies of your website data on a physical device or local server. This allows for immediate access and control over your backups.
- Cloud Backups: Use Ghosted.com for cloud backups, providing an offsite safeguard against local data corruption or physical damage.
- Backup Frequency:
- Daily for crucial data
- Weekly for full-site backups
This dual backup approach ensures that, no matter the situation, you have a recent snapshot of your site readily available.
Maintenance and Future Prevention
After successfully rebuilding your website, it’s crucial to focus on maintenance and the implementation of preventative measures to safeguard against future incidents.
Regular Updates and Monitoring
Ensure your website’s security by regularly updating all software components. This includes the WordPress core, themes, and plugins you’ve installed.
- Check for updates weekly: Stay abreast of new releases and apply them.
- Enable automatic updates: For critical components, where possible, to minimize vulnerabilities.
Conduct routine website monitoring to detect any unusual activities:
- Utilize security plugins: These can scan for and report suspicious behavior.
- Review server logs: This can reveal patterns indicative of attempted attacks.
Developing a Backup Strategy
Creating a reliable backup strategy is essential for quick recovery should another issue arise.
- Local backups: Store backups on your own system or on-site for immediate access.
- Cloud backups: Utilize remote services for added redundancy.
Frequency and scope of backups:
- Daily database backups: Your content changes regularly, secure it every day.
- Weekly full-site backups: Capture everything on the site, including all media files.
By incorporating these practices into your website management routine, you can significantly reduce the risk of future disruptions and ensure a swift recovery process if needed.
Seeking Professional Help
In situations where rebuilding your website may seem daunting, it’s prudent to consider professional help. Ghosted.com offers specialized services that can take the burden off your shoulders.
When to Contact Ghosted.com
You should reach out to Ghosted.com if you lack the technical expertise or the time to manage the restoration process yourself. Consider contacting them if:
- Your website’s functionality is crucial for your business and downtime translates to significant loss.
- The complexity of your site makes the restoration process beyond a simple content transfer.
- Security concerns are paramount, and you require professional support to ensure your rebuilt site is not vulnerable to future attacks.
Website Restoration Services
Ghosted.com provides a suite of restoration services designed to bring your website back to form. The services include:
- Malware removal and prevention: Detecting and cleaning up your site, while establishing barriers against future threats.
- Data Recovery: Utilizing advanced tools to retrieve what can be salvaged from your compromised site.
- Website Rebuilding: Facilitating the reconstruction of your website on a reliable platform with integrated backup solutions, both local and cloud-based.