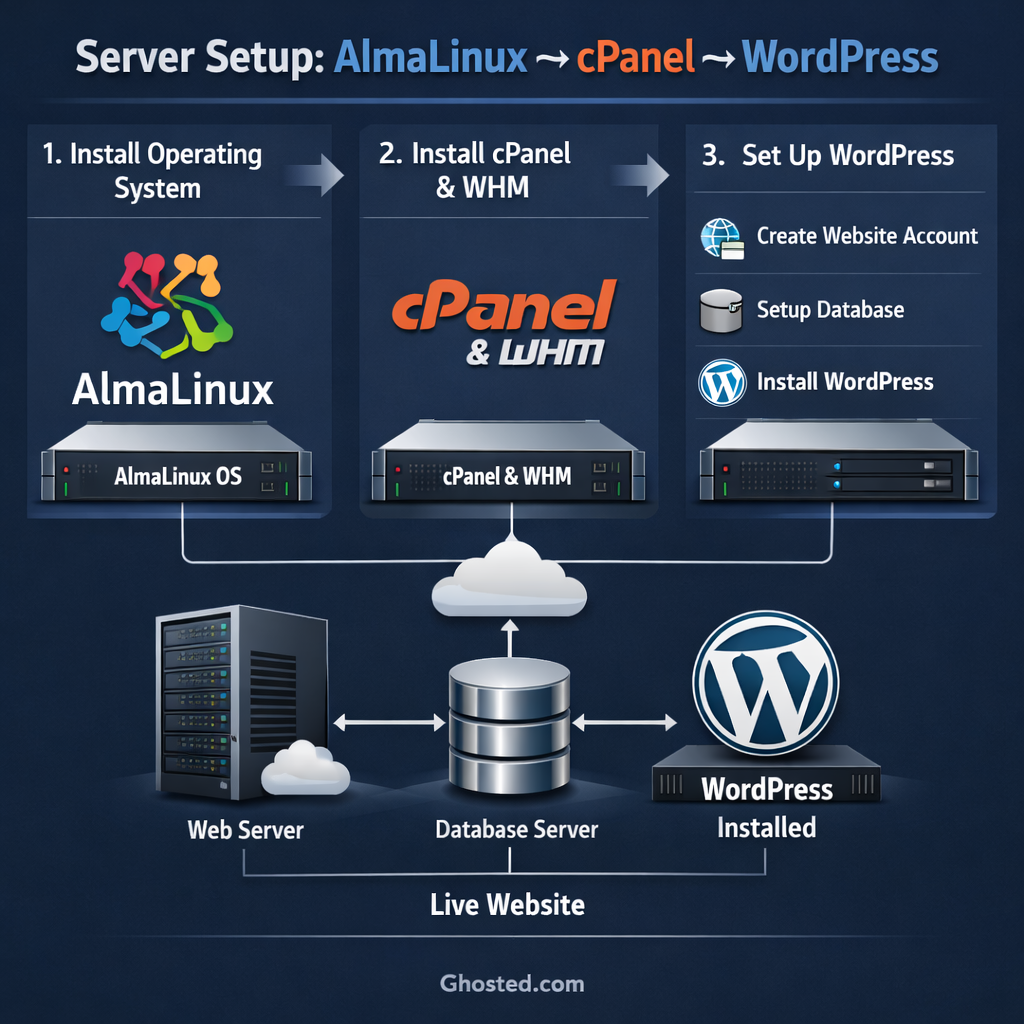
🚀Complete AlmaLinux cPanel Installation
Professional Step-by-Step Setup for AlmaLinux 8 to 9.6 with Security Best Practices
📋 System Preparation & Initial Setup
Start by ensuring your system is fully updated with the latest security patches and packages:
Set a proper Fully Qualified Domain Name (FQDN) for your server. This is crucial for cPanel functionality and SSL certificates:
Replace these with your values:
Hostname: server.yourdomain.com
Example: web1.ghosted.com
cPanel requires SELinux to be disabled for proper operation:
📦 Install cPanel & WHM
Run the official cPanel installation script:
The installer will automatically:
- Install all required dependencies and packages
- Configure Apache, MySQL/MariaDB, and PHP
- Set up WHM (Web Host Manager) interface
- Configure basic security settings
- Install default cPanel features and modules
Access WHM at:
https://your-server-ip:2087
After installation completes, access WHM using your root credentials and complete:
- Accept the license agreement
- Configure your contact email
- Set up nameservers (ns1 and ns2)
- Configure networking and IP addresses
- Choose your MySQL/MariaDB settings
- Select quotas configuration
🛡️ Upgrade to Imunify360 (Advanced Security)
cPanel comes with ImunifyAV FREE pre-installed, which provides basic malware scanning. However, if you’re running a hosting company or managing multiple WordPress sites, we highly recommend upgrading to Imunify360 for comprehensive protection.
Imunify360 includes:
- Advanced Web Application Firewall (WAF)
- Real-time malware protection and cleanup
- Proactive defense against zero-day attacks
- Intrusion detection and prevention
- Automatic security patches
- DDoS protection
First, check if ImunifyAV is installed and remove it:
Download and install Imunify360:
Need an Imunify360 License?
Contact Ghosted.com and we’ll be happy to help you get licensed! All our shared hosting packages come with Imunify360 included for maximum protection.
📧 Disable Mail Services (Recommended for Security)
If you don’t need to send mail directly from your server, disabling mail services significantly reduces your attack surface by:
- Eliminating mail-based exploits and vulnerabilities
- Preventing your server from being used for spam
- Reducing server resource usage
- Closing potential entry points for hackers
We recommend using external mail services like:
- Google Workspace (formerly G Suite)
- Microsoft 365
- Other dedicated email providers
Need Email Solution Advice?
If you need guidance on setting up professional email services, reach out to Ghosted Web Support. We’ll help you choose and configure the best email solution for your needs.
Stop and disable mail-related services:
Prevent cPanel from restarting mail services:
In WHM, navigate to:
Service Configuration → Service Manager
Uncheck these services:
Exim, Dovecot, SpamAssassin, ClamAV
Save the configuration to ensure mail services remain disabled.
🔒 Essential Security Hardening
Implement SSH security best practices:
Add or modify these security settings:
Enable essential security features in WHM:
Navigate to these WHM sections:
✓ Security Center → cPHulk Brute Force Protection – Enable and configure
✓ Security Center → ModSecurity™ Vendors – Install OWASP rules
✓ Security Center → Shell Fork Bomb Protection – Enable
✓ Security Center → Compiler Access – Disable for users
✓ Security Center → Apache mod_userdir Tweak – Enable protection
Enable automatic security updates for your system:
Verify your security configuration:
✅ Installation Complete – Verification Checklist
- ✅ cPanel/WHM installed and optimized
- ✅ Security hardening applied
- ✅ Optional Imunify360 protection (if chosen)
- ✅ Optional mail services disabled (if chosen)
- ✅ SSH secured with best practices
- ✅ Automatic security updates enabled
Web Interfaces:
WHM (Admin): https://your-server-ip:2087
cPanel (Users): https://your-server-ip:2083
Secure Shell Access:
SSH Command: ssh username@your-server-ip -p 2222
- Configure your DNS nameservers in WHM
- Install SSL certificates (AutoSSL or Let’s Encrypt)
- Create hosting packages and pricing
- Set up automated backups
- Configure firewall rules if needed
- Create your first cPanel account
- Monitor server logs regularly
Need Professional Server Management?
Setting up a server is just the beginning. For ongoing management, security monitoring, and expert support, contact Ghosted.com. We offer managed hosting solutions that take care of all the technical details while you focus on your business.
🌟 About Ghosted.com Hosting Solutions
Ghosted.com specializes in high-performance web hosting, dedicated servers, and comprehensive security solutions. Our expert team ensures your online presence is fast, secure, and always available.
Web Hosting
Lightning-fast shared and VPS hosting with Imunify360 protection included
Dedicated Servers
Powerful dedicated servers with full root access and expert management
cPanel Licensing
Competitive cPanel licensing with migration assistance and setup support
Security Solutions
Imunify360, SSL certificates, DDoS protection, and security hardening
Whether you need help with this cPanel installation, ongoing server management, or want to explore our managed hosting options, our team is here to help 24/7.
Get Started with Ghosted.com Professional Hosting© 2025 Ghosted.com – Enterprise Hosting & Security Solutions

